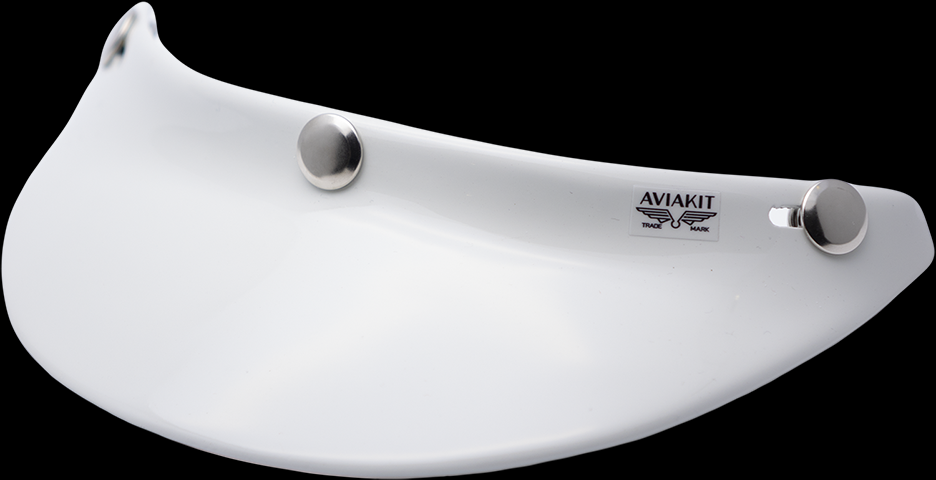
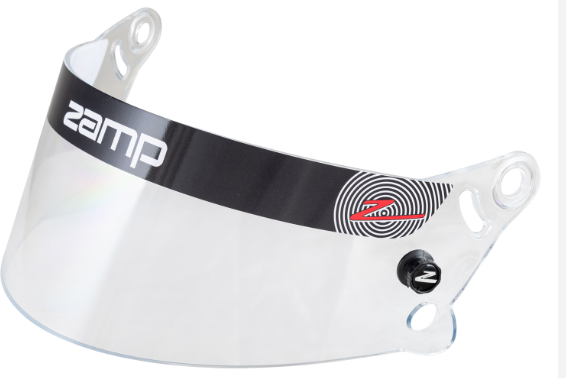
Vacuum forming a visor involves heating plastic, molding it over a template, then trimming and customizing the final product.
Materials and Tools Required
When vacuum forming a visor, it’s crucial to have the right materials and tools. This section outlines what you’ll need and why each item is important.
Selecting the Right Plastic for Visor
Choosing the appropriate plastic material is vital for both the durability and clarity of the visor. Common materials include:
- Polycarbonate: Known for its high impact resistance and clarity. Ideal for safety visors.
- PVC (Polyvinyl Chloride): Offers a good balance between flexibility and strength. A cost-effective option.
- PETG (Polyethylene Terephthalate Glycol): Renowned for its excellent thermoforming properties and chemical resistance.
Each material has its pros and cons in terms of durability, clarity, and cost. For instance, polycarbonate offers high impact resistance but can be more expensive. PETG, while cheaper, might not provide the same level of durability.
Essential Equipment for Vacuum Forming
The right equipment is crucial for a successful vacuum forming process. Here’s what you need:
- Vacuum Forming Machine: The core of the operation, its size and power should match the size and thickness of the material you plan to form. Key specifications to consider include:
- Heating Power: Determines how quickly you can heat the plastic. Machines can range from 1kW to 5kW.
- Vacuum Power: Affects the clarity and definition of the formed visor. Generally, higher vacuum pressure results in better detail.
- Plastic Sheets: The size and thickness should correspond to the visor design. Common thicknesses range from 0.5mm to 5mm.
- Mold for Visor: This can be made from wood, plaster, or aluminum. The mold’s dimensions and surface finish directly influence the visor’s quality.
- Cutting and Trimming Tools: For post-forming processes. These include scissors, knives, and potentially a CNC machine for precision cuts.
- Safety Equipment: Gloves, safety glasses, and a well-ventilated workspace are essential to protect against heat and fumes.
- Thermometer or Pyrometer: To monitor the temperature of the plastic sheet accurately.
- Timer: Essential for precise heating and cooling times, impacting the quality and consistency of the end product.
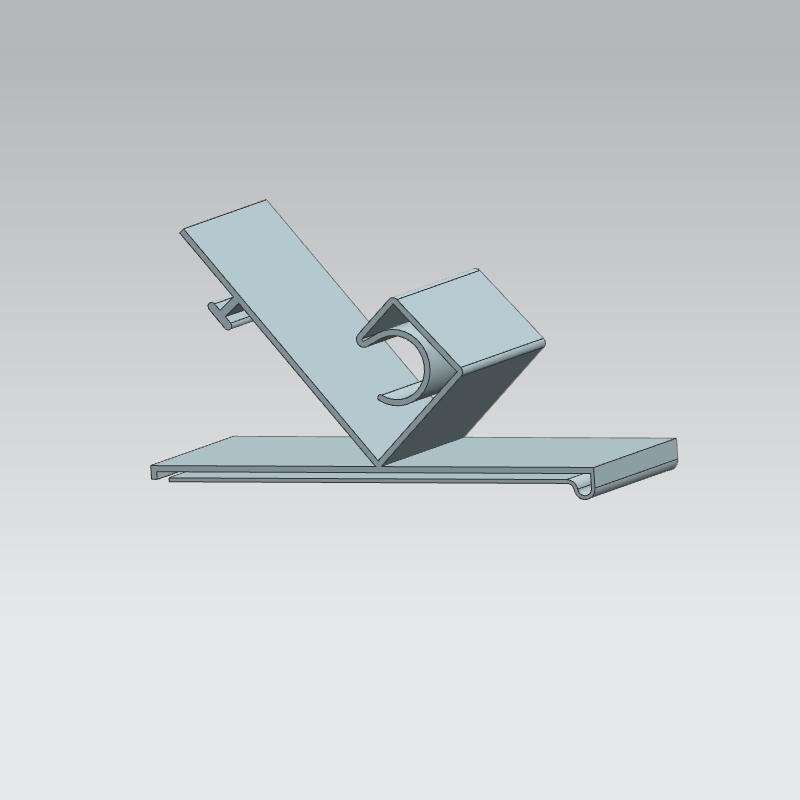
Designing the Visor Mold
The design of the visor mold is a critical step in vacuum forming, as it directly impacts the quality and functionality of the final product. This section details the process of creating an effective mold design.
Creating a Template for the Visor
Designing a template for the visor involves several steps:
- Conceptualization: Start by sketching the visor’s design, focusing on its intended use, shape, and size. Consider aspects like visibility, comfort, and protection.
- Dimensional Drawing: Create a detailed drawing with precise measurements. Typical visor dimensions might range from 200mm to 300mm in width and 100mm to 150mm in height, depending on the application.
- Material Selection for the Mold: Choose a material for the mold. Options include:
- Wood: Cost-effective and easy to shape, but less durable.
- Aluminum: More expensive, but offers excellent durability and a smooth finish.
- Plaster: A good option for prototypes due to its ease of shaping and low cost.
- 3D Modeling: Use CAD software to transform your drawings into a 3D model. This step is crucial for precision and allows for adjustments before physical production.
- Prototype Testing: Create a prototype of the mold to test the design. This step can save time and resources by identifying any design flaws early on.
Tips for Effective Mold Design
A well-designed mold is key to a successful vacuum forming process. Here are some tips:
- Smooth Surface: Ensure the mold surface is smooth to avoid imperfections in the visor.
- Draft Angles: Incorporate draft angles to facilitate easy removal of the formed plastic. A typical angle might be between 3 to 5 degrees.
- Undercuts: Avoid undercuts in the mold design, as they can make demolding the visor difficult.
- Ventilation Holes: Small holes in the mold can help remove air pockets, improving the definition and clarity of the formed visor.
- Sturdiness: The mold must withstand the heat and pressure of vacuum forming. Ensuring the right material and thickness is crucial for durability. For example, an aluminum mold might be 5mm to 10mm thick, depending on the size of the visor.
Preparing the Vacuum Forming Machine
Proper preparation of the vacuum forming machine is essential for achieving high-quality results. This involves setting up the machine and ensuring it operates at optimal performance.
Setting Up the Machine for Optimal Performance
To set up the vacuum forming machine effectively, follow these steps:
- Check the Power Supply: Ensure the machine is connected to a power source that matches its requirements. Vacuum forming machines typically require a power supply ranging from 110V to 220V, depending on their size and specifications.
- Inspect the Heating Element: The heating element must work efficiently to evenly heat the plastic sheet. For instance, a machine with a 2kW heater should uniformly distribute heat across the sheet.
- Verify the Vacuum System: The vacuum pump should be in good condition, providing enough suction to form the plastic around the mold. The vacuum pressure required can vary, but a standard machine might need a vacuum pump rated at 3 to 5 cubic meters per hour.
- Prepare the Forming Area: Ensure the forming area is clean and the frame that holds the plastic sheet is secure. The size of the forming area should match the size of the mold and the plastic sheet, typically ranging from 30cm x 30cm for small machines to 1m x 1m for larger ones.
- Calibrate Controls: Set up the temperature and timer controls according to the type of plastic you are using. For example, polycarbonate might require a heating temperature of around 150°C to 160°C.
- Test Run: Conduct a test run without the plastic sheet to ensure all components are functioning correctly.
Safety Precautions and Best Practices
Operating a vacuum forming machine requires adherence to safety guidelines:
- Wear Protective Gear: Always wear heat-resistant gloves, safety goggles, and a protective apron.
- Check for Overheating: Regularly monitor the machine for signs of overheating.
- Maintain a Clean Workspace: Keep the area around the machine free of clutter and flammable materials.
- Emergency Shutdown: Familiarize yourself with the emergency stop button or procedure in case of a malfunction.
- Ventilation: Ensure good ventilation in the workspace to avoid inhaling fumes from heated plastics.
The Vacuum Forming Process
The vacuum forming process is a crucial phase in visor production, involving precise heating of the plastic sheet and shaping it over the mold.
Heating the Plastic Sheet
Heating the plastic sheet to the correct temperature is essential for successful vacuum forming. Here’s how to do it:
- Select the Right Temperature: Different plastics require different temperatures. For example, polycarbonate typically heats at around 150°C to 160°C.
- Even Heating: Ensure the sheet is heated evenly. Uneven heating can lead to poor quality forming.
- Monitoring: Continuously monitor the sheet. When it starts to sag, it’s approaching the right formability.
- Use a Pyrometer: A pyrometer can help in accurately measuring the surface temperature of the plastic sheet.
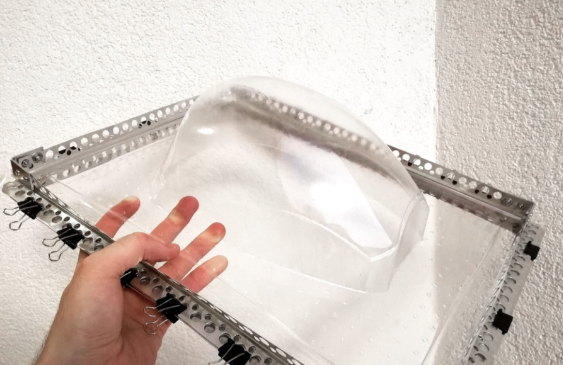
The Vacuum Forming Step-by-Step
After heating the plastic sheet, follow these steps:
- Position the Mold: Place the mold on the machine’s platform.
- Drape the Heated Sheet: Lower the heated plastic sheet over the mold.
- Activate the Vacuum: Turn on the vacuum to suck out air and form the plastic tightly around the mold.
- Cooling Time: Allow the plastic to cool and solidify, forming the shape of the mold. Cooling times can vary, but typically it takes several minutes.
- Release the Vacuum: Once the plastic is cool, release the vacuum and remove the formed visor.
Finishing Touches on the Formed Visor
After the visor is formed, it needs finishing touches to enhance its appearance and functionality.
Trimming and Sanding
Trimming and sanding are important for giving the visor its final shape and smooth edges.
- Trim Excess Material: Use scissors or a trimming knife to cut away excess plastic.
- Sanding Edges: Smooth the edges with sandpaper. Start with a coarser grit and move to a finer grit for a smooth finish.
Adding Additional Features and Customizations
Customizing the visor can involve several processes:
- Drilling Holes: If the visor needs attachment points, carefully drill holes in the designated spots.
- Applying Coatings: Apply anti-scratch or UV protective coatings if required.
- Adding Graphics: Use decals or printing for branding or decorative purposes.
- Quality Check: Finally, inspect the visor for any imperfections or defects.