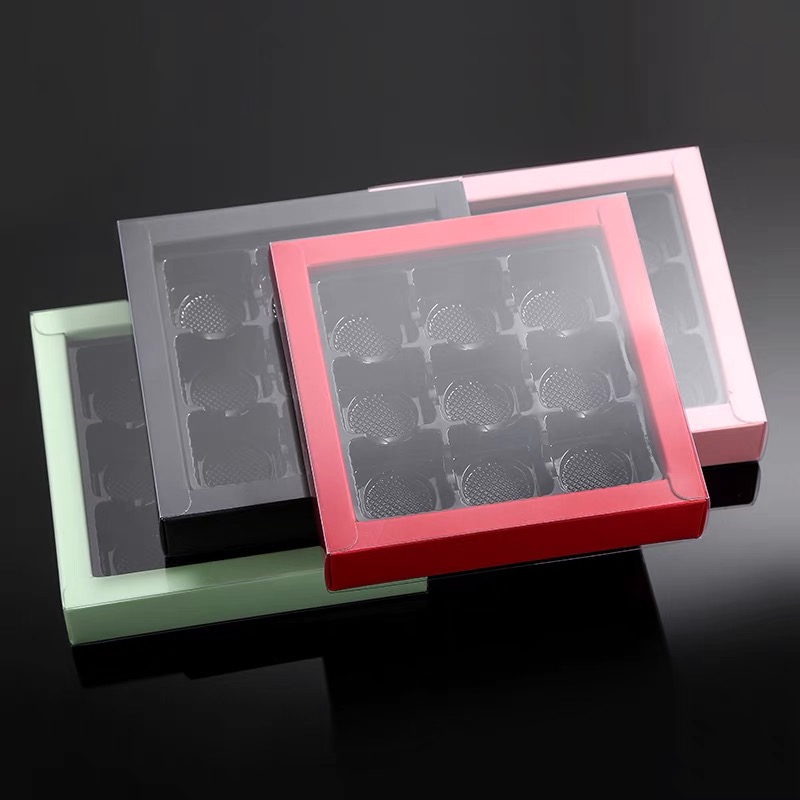
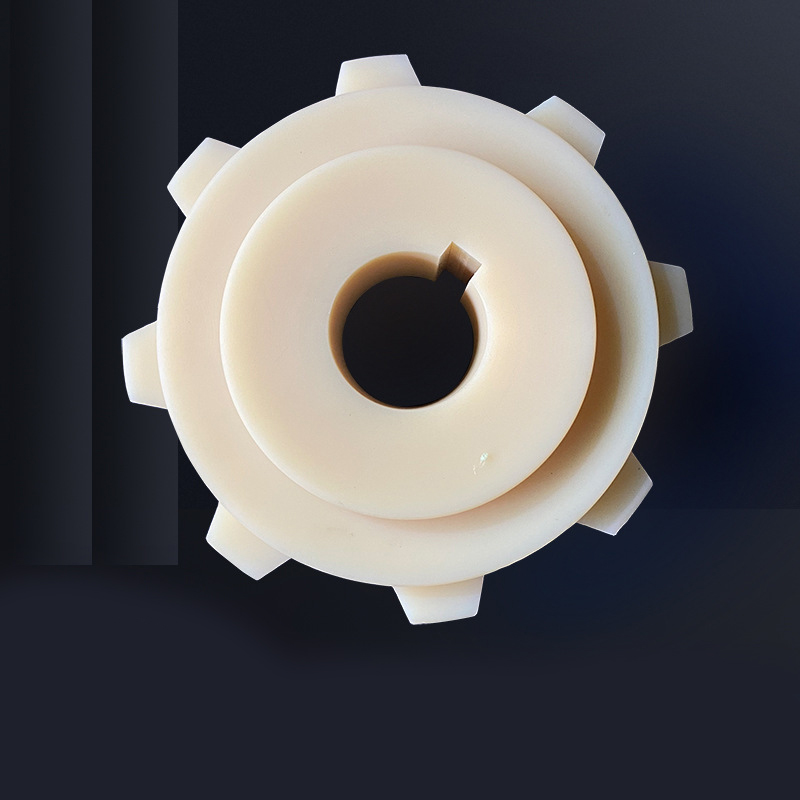
To make an injection mold: design the part, create tooling, select materials, CNC machining, and perform testing for quality.
Design Phase of Injection Molds
Conceptualizing the Mold Design
The first step in mold design is conceptualization. This process involves brainstorming and sketching initial ideas, focusing on the final product’s requirements. Designers consider factors like the mold’s size, shape, and complexity. They aim to create designs that are not only functional but also cost-effective. For instance, a complex mold design might increase production costs by 15-25%, depending on its intricacies.

Computer-Aided Design (CAD) for Mold Creation
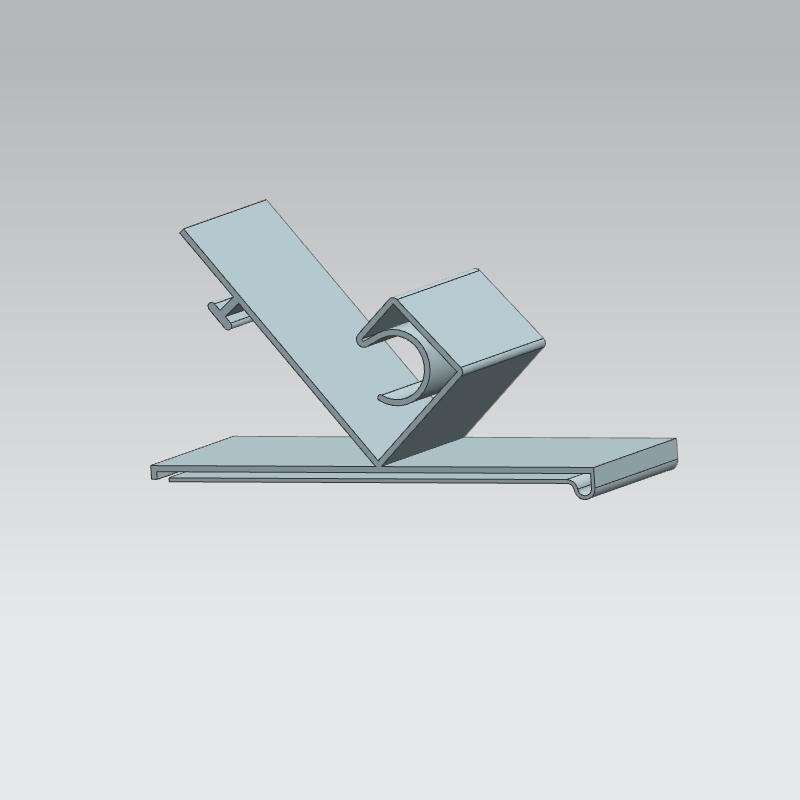
CAD software plays a crucial role in modern mold design. Designers use these tools to create precise 3D models of the mold. This technology allows for exact specifications, with tolerances as tight as 0.005 mm. CAD modeling also helps in predicting and avoiding potential manufacturing issues, reducing the need for costly redesigns. Utilizing CAD can improve overall design efficiency by up to 30%, significantly impacting the project’s budget and timeline.
Design Optimization for Manufacturing Efficiency
Design optimization is all about enhancing manufacturing efficiency. This involves modifying the mold design to streamline the production process. Key considerations include minimizing the number of parts, simplifying complex features, and ensuring easy access for maintenance. Effective optimization can lead to a reduction in production time and costs by approximately 20%. It also enhances the mold’s durability, extending its lifespan and reducing the need for frequent replacements.
Each stage of the design phase is vital in creating a mold that balances functionality, quality, and cost. A well-thought-out design can significantly impact the overall success and efficiency of the injection molding process.
Learn more about the process and technologies involved in mold design on the Injection Mold Design Wikipedia page.
Material Selection for Mold Making
Types of Materials Used in Mold Making
In mold making, steel and aluminum are the most common materials. Steel, known for its strength and durability, is ideal for high-volume production molds. Aluminum, being lighter and easier to machine, is preferred for prototypes and short-run molds. For instance, a steel mold can last up to 1 million cycles, while an aluminum mold might be limited to around 100,000 cycles.
Properties and Selection Criteria of Mold Materials
Selecting the right material depends on several properties:
- Durability: Steel offers high wear resistance, suitable for molds with a long lifespan.
- Machinability: Aluminum is easier to machine, reducing initial manufacturing time and cost.
- Heat Transfer: Aluminum provides better thermal conductivity, which can be crucial for cooling times in the molding process.
Manufacturers must balance these properties with the project’s specific needs to choose the most appropriate material.
Cost Implications of Different Materials
The cost of mold materials varies significantly:
- Steel Molds: More expensive initially, costing about 20-30% more than aluminum molds. However, their longevity can make them more cost-effective in the long run for high-volume productions.
- Aluminum Molds: Less expensive upfront, ideal for limited production runs or prototypes.
The choice of material has a direct impact on the project’s budget and efficiency. Manufacturers must consider both the short-term and long-term financial implications of their material choice.
Understanding the properties and costs of different mold materials is crucial for efficient and cost-effective mold manufacturing.
For further details on materials used in mold making, refer to the Mold Making Materials Wikipedia page.

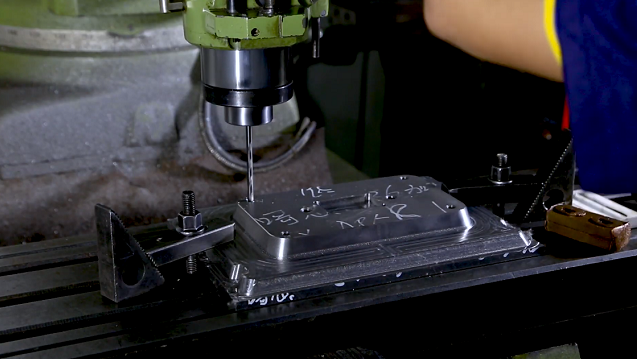
Machining and Mold Construction
Techniques in Mold Machining
Mold machining involves various techniques such as milling, EDM (Electrical Discharge Machining), and CNC (Computer Numerical Control) machining. Milling is cost-effective for removing large amounts of material, while EDM provides high precision for intricate details, often increasing the cost by about 15-20%. CNC machining combines speed and precision, making it a popular choice despite being approximately 10-20% more expensive than conventional methods.
Step-by-Step Guide to Constructing the Mold
Design Finalization: Start with a detailed CAD model.
Material Selection: Choose steel or aluminum based on production needs.
Rough Machining: Remove excess material using milling.
Precision Machining: Employ CNC or EDM for detailed features.
Mold Assembly: Assemble different mold components.
Polishing and Finishing: Enhance the surface finish for quality.
Each step adds to the total cost and time, with precision machining being the most time-intensive, often taking up to 50% of the total construction time.
Ensuring Precision and Quality in Mold Construction
High precision and quality are non-negotiable in mold construction. Achieving tolerances as tight as 0.005 mm is common. This precision often increases the cost but is essential for producing high-quality parts. Regular quality checks throughout the machining process are crucial. Investing in quality control can add an additional 5-10% to the cost but ensures a reduction in waste and rework.
Effective mold construction is a balance between precision, quality, and cost-efficiency. Each decision, from material choice to machining technique, impacts the overall success of the mold.
For more information on mold construction techniques, visit the Mold Machining Wikipedia page.
Testing and Refining the Mold
The process of testing and refining an injection mold is critical to ensure its functionality and longevity. Below is a detailed breakdown of each step in the process:
| Step | Description | Key Considerations | Cost Implications |
|---|---|---|---|
| Initial Testing of the Mold | The mold undergoes its first test run to produce sample parts. | – Check for dimensional accuracy – Assess the quality of the finished part | Minor adjustments are usually included in the initial cost, but major modifications can increase costs by 5-10%. |
| Identifying and Fixing Common Issues | Common issues like warping, surface imperfections, or incorrect dimensions are addressed. | – Quick identification of issues – Efficient solutions to fix problems | Costs vary based on the severity of the issues; simple fixes might add 2-5%, while significant modifications can increase costs by up to 20%. |
| Finalizing the Mold for Production | The mold is finalized and prepared for full-scale production. | – Ensuring consistent quality – Preparing for high-volume production | Final adjustments typically add an additional 3-7% to the total mold cost. |
Each step in this process is essential to guarantee that the mold meets the required standards and specifications. It’s a balance between maintaining high quality and managing additional costs due to testing and refinements.
For more insights into the process of mold testing and refining, refer to the Injection Molding Wikipedia page.